We can add a second switch to create hysteresis. Hyste-what?? Yeah, we’ll get there. Hang on.
What we need is a way to allow for a level switch to turn on and off without cycling the pump motor at the same time. We could add a time delay, but that doesn’t help monitor and respond to the conditions in the tank; it only overrides the switch. However, if we add a second switch that is identical to the first, and wire a seal-in relay around one of them, we’ll get the control we’re looking for.
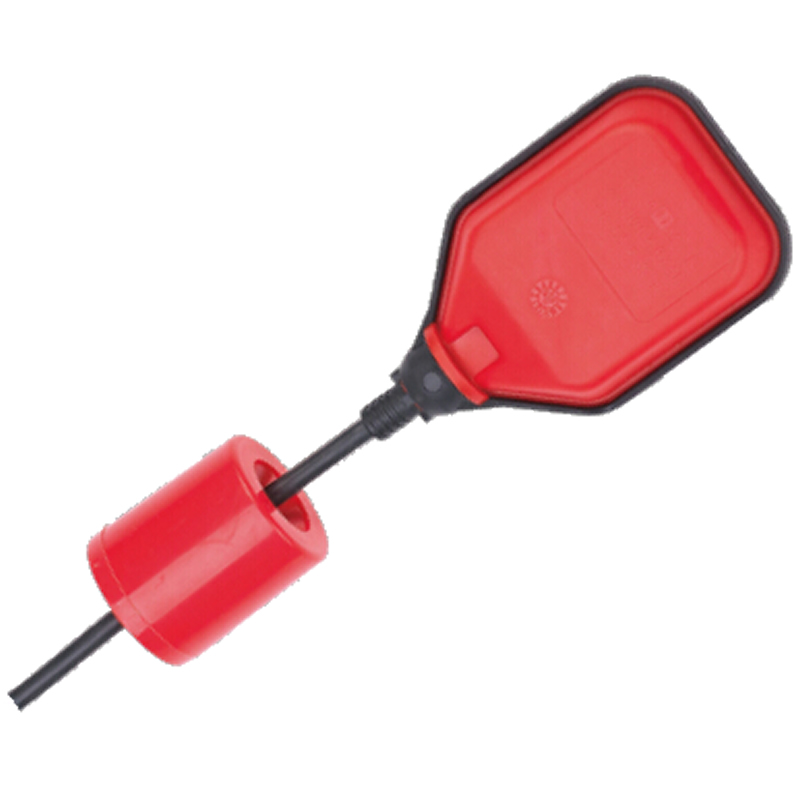
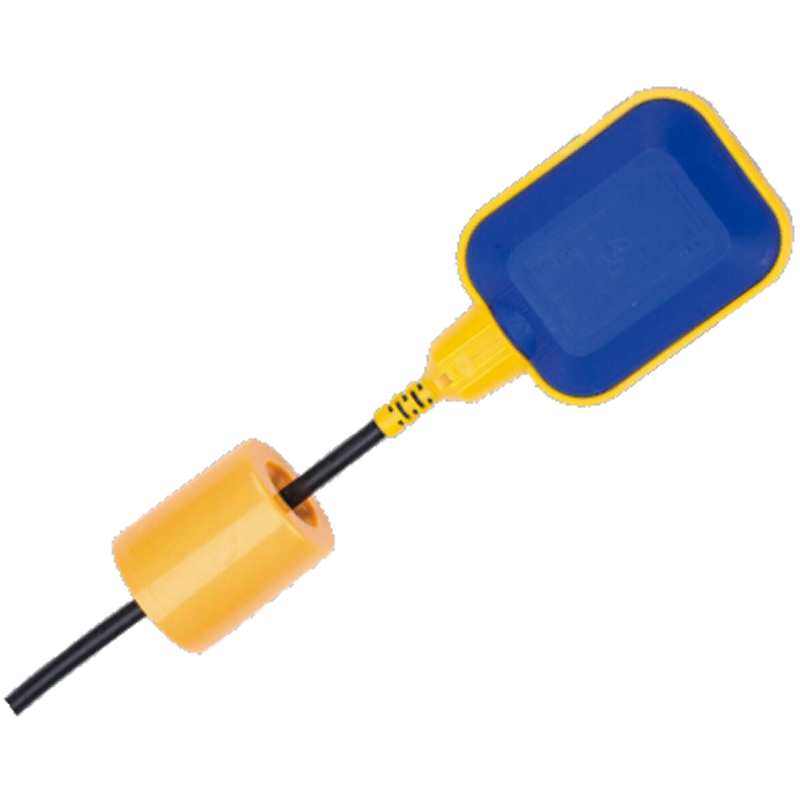
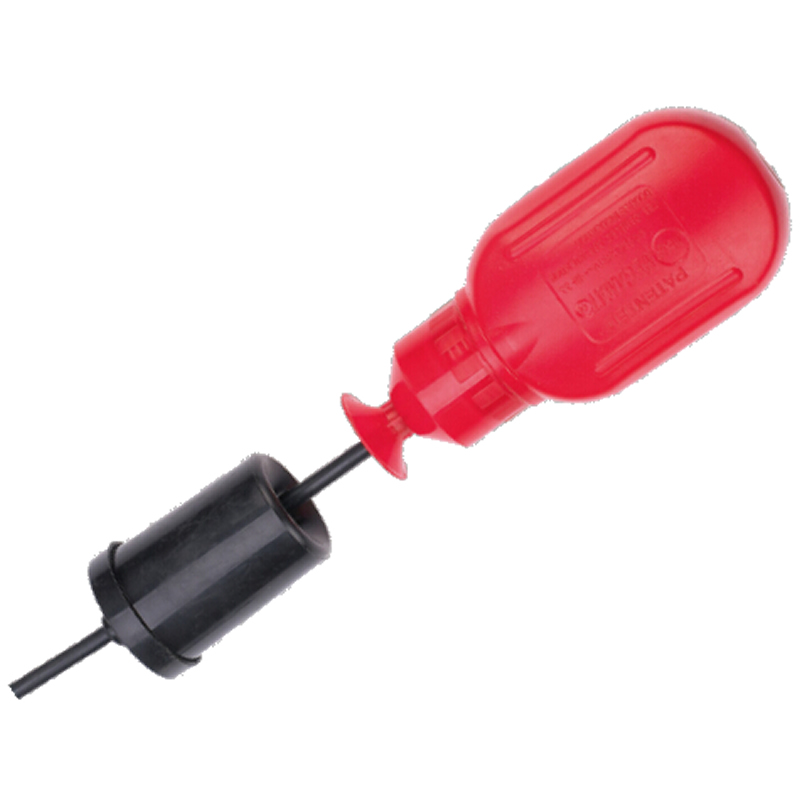
The first switch (L) is set at the minimum liquid level desired in the tank. The second switch (H) goes at the maximum desired level.
When the liquid is below both switches, they are both closed; the pump runs, filling the tank. As the liquid fills past the first switch, it opens. However, seal-in relay A has been activated and closed, bypassing the now-open switch L (effectively “sealing it in”), so the pump continues to run until the high-level switch H opens. When the high-level switch opens, the motor relay P opens, stopping the motor, and seal-in relay A opens.
So no more liquid is coming into the tank from this pump. Let’s say a valve downstream of the tank is opened, allowing liquid to drain out of the tank. As the liquid level falls, high-level switch H closes. But since both low-level switch L and seal-in relay A are open, the pump motor does not start.
In fact, the liquid level in the tank must fall below low-level switch L before the motor will start. At that point, both the low-level and high-level switches will be closed, completing the circuit, and activating motor relay P to start the pump. At the same time, seal-in relay A will be activated, closing the by-pass around low-level switch L. So when low-level switch L opens as the pump fills the tank, the seal-in relay keeps the circuit closed, and the pump keeps pumping.
This cyclical action is called hysteresis. Once the liquid level falls below the low-level switch, the pump will run until both switches are open. The liquid level can fluctuate up and down, the low-level switch can open and close, and the pump will continue to run smoothly. Similarly, once the high-level switch opens, the pump will not run until both switches have closed. Regardless of level fluctuations, no more pump motor flutter.
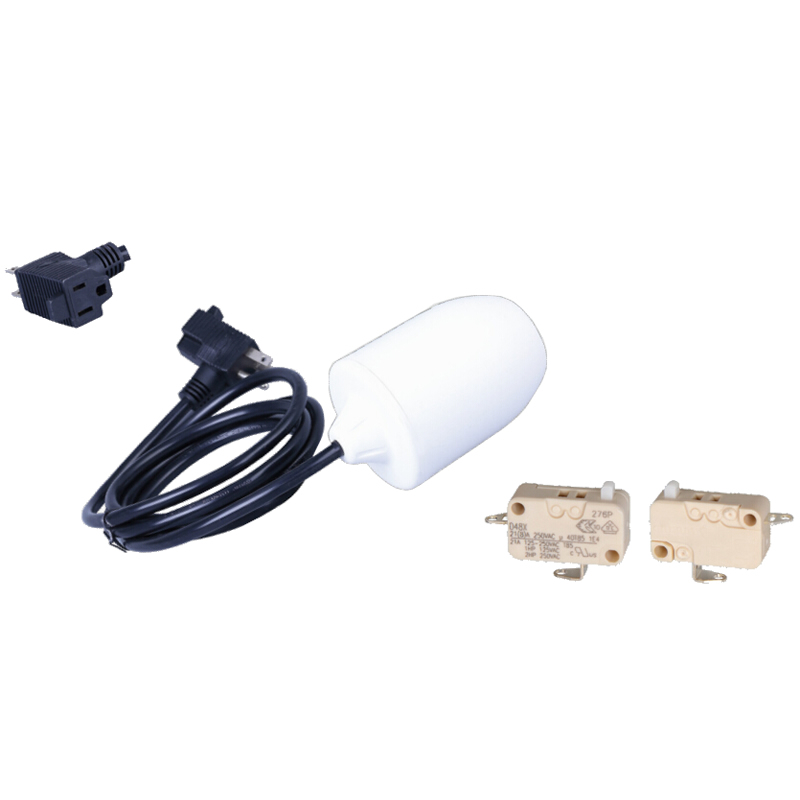
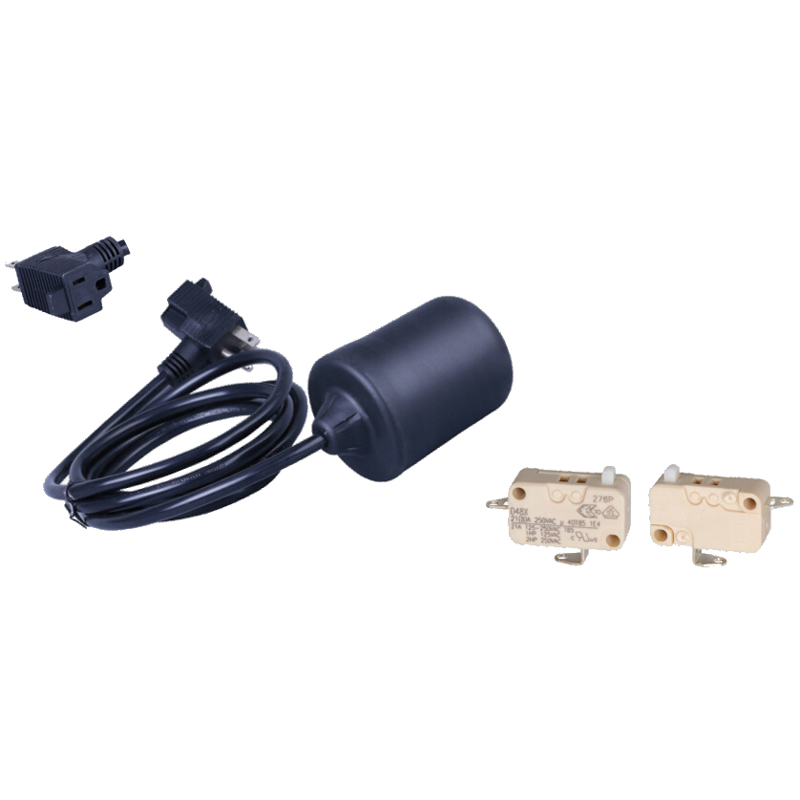
Great! We’ve got level control, reasonable pump-motor life, everything we could want, right? Let’s wire it up. We need to wire both float switches back to our control circuitry, plus we have to add the contacts and seal-in relay A. The low-level switch wires to terminals 1 and 2, the high-level switch to terminals 3 and 4, and the contacts for seal-in relay A to terminals 5 and 6.
So that’s at least four, if not six, wires that need to be hooked up to the control circuitry. (Wiring for the seal-in relay and contacts will depend on your control equipment.) That’s not so bad: two float switches, an additional relay, and four to six wires.
float switch diagram
float switches for water tanks
float switch for sump pump
float switch home depot
water tank float switch
water tank float switch installation
mechanical float switch
float switch amazon
What we need is a way to allow for a level switch to turn on and off without cycling the pump motor at the same time. We could add a time delay, but that doesn’t help monitor and respond to the conditions in the tank; it only overrides the switch. However, if we add a second switch that is identical to the first, and wire a seal-in relay around one of them, we’ll get the control we’re looking for.
The first switch (L) is set at the minimum liquid level desired in the tank. The second switch (H) goes at the maximum desired level.
When the liquid is below both switches, they are both closed; the pump runs, filling the tank. As the liquid fills past the first switch, it opens. However, seal-in relay A has been activated and closed, bypassing the now-open switch L (effectively “sealing it in”), so the pump continues to run until the high-level switch H opens. When the high-level switch opens, the motor relay P opens, stopping the motor, and seal-in relay A opens.
So no more liquid is coming into the tank from this pump. Let’s say a valve downstream of the tank is opened, allowing liquid to drain out of the tank. As the liquid level falls, high-level switch H closes. But since both low-level switch L and seal-in relay A are open, the pump motor does not start.
In fact, the liquid level in the tank must fall below low-level switch L before the motor will start. At that point, both the low-level and high-level switches will be closed, completing the circuit, and activating motor relay P to start the pump. At the same time, seal-in relay A will be activated, closing the by-pass around low-level switch L. So when low-level switch L opens as the pump fills the tank, the seal-in relay keeps the circuit closed, and the pump keeps pumping.
This cyclical action is called hysteresis. Once the liquid level falls below the low-level switch, the pump will run until both switches are open. The liquid level can fluctuate up and down, the low-level switch can open and close, and the pump will continue to run smoothly. Similarly, once the high-level switch opens, the pump will not run until both switches have closed. Regardless of level fluctuations, no more pump motor flutter.
Great! We’ve got level control, reasonable pump-motor life, everything we could want, right? Let’s wire it up. We need to wire both float switches back to our control circuitry, plus we have to add the contacts and seal-in relay A. The low-level switch wires to terminals 1 and 2, the high-level switch to terminals 3 and 4, and the contacts for seal-in relay A to terminals 5 and 6.
So that’s at least four, if not six, wires that need to be hooked up to the control circuitry. (Wiring for the seal-in relay and contacts will depend on your control equipment.) That’s not so bad: two float switches, an additional relay, and four to six wires.
float switch diagram
float switches for water tanks
float switch for sump pump
float switch home depot
water tank float switch
water tank float switch installation
mechanical float switch
float switch amazon